
You are here
Reference Manager
Once logged in, you are directed to NILDE Users Reference Manager, which allows you to manage your bibliographic references and send document delivery requests to the library where you are registered.
You can:
• Change your personal data or modify the details about the library where you are registered
• Create, delete, visualize the references you saved and change the order in which they appear (by author, by title, etc.)
• Manage your references using labels and add labels to documents or references
• Forward a Document Delivery request to the library where you are registered
• Check the status of a request
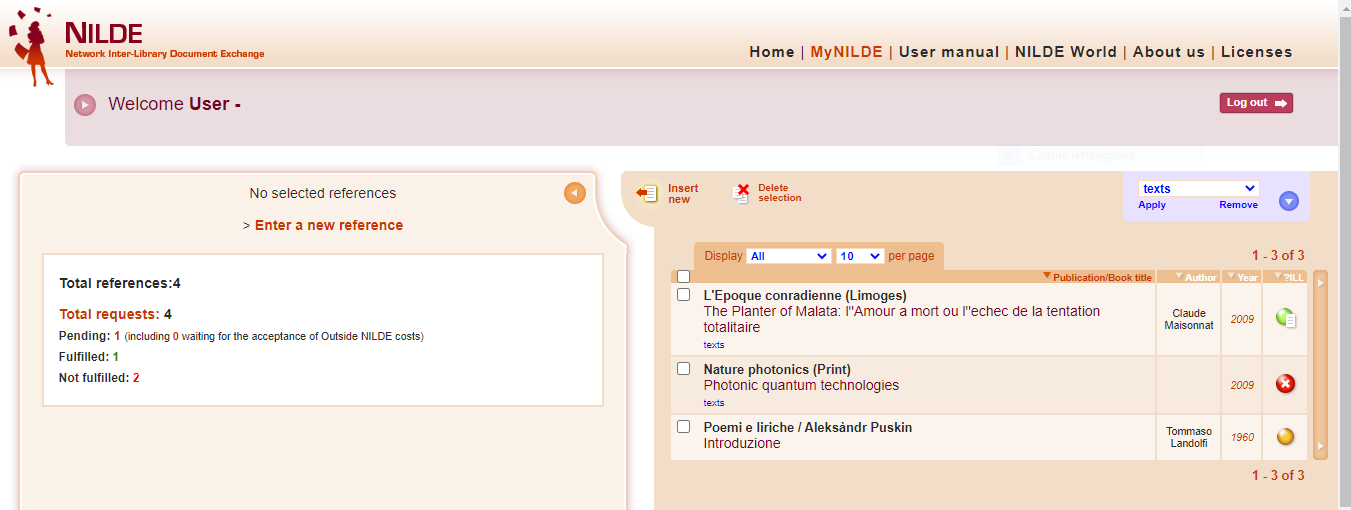
Figure 16: NILDE Users Reference Manager
Changing personal data
Clicking on the icon at the left of the Welcome message a menu opens up. From there it is possible to change your personal data and view the details about the library where you are registered.

Figure 17: Screenshot of NILDE Users Reference Manager. The Welcome button is highlighted.
Clicking on it you can visualize or change your personal data.
Clicking on Edit it is possible to change the data. Some of them are required at the moment of the registration, but they can be modified at any time. In particular, user's title (student, researcher, librarian, etc.) must be selected from the drop-down menu. The menu will only show the standard titles allowed for the type of institution to which the library belongs. It is possible to choose the institute or the department only in case the library manages different departments or research institutes.
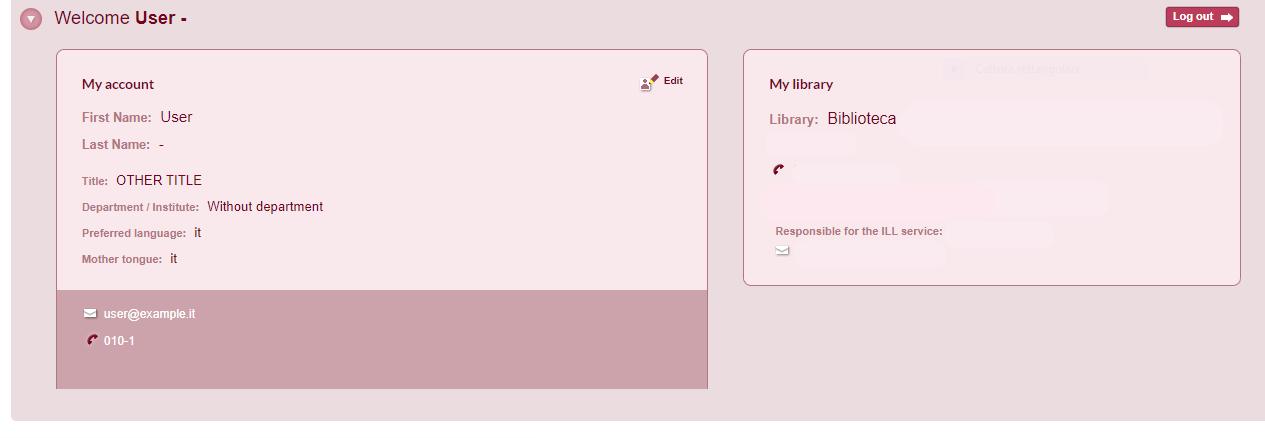
Figure 18: "My account" section with user's personal data
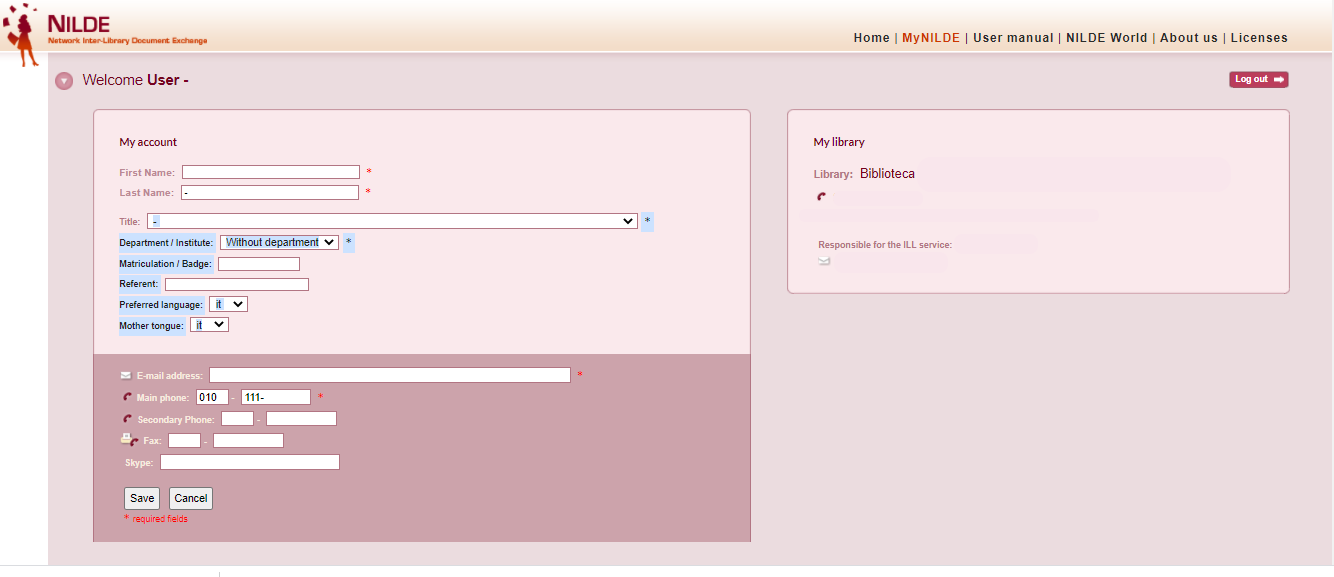
Figure 19: Screenshot of the menu where personal data can be changed.
Labels
In the blue section of NILDE Users you can create labels to organize your references. It is possible to create up to 20 labels. Click on the arrow to open the drop-down menu.

Figure 20: Detail of the section where it is possible to create, apply or remove labels to documents.
To create a label, you just need to write a title in the relevant field and then click on Create. After the label has been created you can select your references and choose Apply to label them or Remove to remove the label. Click on the pencil symbol to rename the label. Click on the X to delete it.
To manage your references, see How to insert and request a bibliographic reference.
Go to the Table of contents of End User Manual.